Roof leak detective work: how we find the source when the stain is in the wrong place
The water on your ceiling is almost never directly under the leak. We've been called to leaks where the entry point was 5 metres away from the ceiling stain. Here's how we trace them.

Why water never lands where you expect it
You see a stain on your bedroom ceiling and assume the problem is directly above it. That's a reasonable guess. It's also wrong about 80% of the time.
Water entering a roof doesn't fall straight down. It follows the path of least resistance, and inside a roof structure there are dozens of routes it can take before it finally drips onto your ceiling.
Capillary action is the first culprit. Roofing felt, the layer beneath your tiles, is porous. Water under pressure, from wind-driven rain or a sustained downpour, can travel sideways across felt for a metre or more before it finds a low point. It doesn't need a slope. Surface tension alone is enough to pull water along a horizontal surface.
Battens and rafters give water a highway. Once water gets past the felt, it hits the timber battens that hold your tiles in place. Battens run horizontally across the roof. Water landing on one can run left or right for the full width of the roof before dropping. A rafter below it does the same thing, but vertically. So the water zigzags, sometimes covering several metres before it reaches a point where it can go no further.
Knots in timber act as natural drip points. A knot is denser than the surrounding wood. Water running along a rafter hits a knot and drops. That drip point can be a metre or more away from where the water first entered the structure.
Roof voids and insulation add another layer of confusion. In older Henley properties, particularly those with loft conversions or thick mineral wool insulation, water can travel unseen for days before it saturates enough material to show through a ceiling. By then, the stain can be in a completely different room from the source.
This is why guessing from a ceiling stain almost never leads you to the right repair.
The five most common true sources
When we arrive at a job, we're not looking at the ceiling stain. We're working backwards from what we know about how roofs fail.
Failed flashing is the single most common cause. Flashing is the lead or mortar used to seal the joints where your roof meets a wall, chimney, or dormer. It expands and contracts with temperature. Over time, the seal breaks. Water enters at the joint, then travels along the roof structure before appearing on a ceiling some distance away. Chimney flashings are a particular problem in older Henley properties, where lead work may be original and well past its serviceable life.
Slipped or cracked tiles are the second most frequent source. A single tile that has dropped, cracked, or lost its nibs can admit a surprising volume of water in heavy rain. The tile itself may look fine from the ground. You need to be on the roof, or using a camera, to see it.
Valley failure
is common in Reading's Victorian terraces and semi-detached houses, which often have complex roof shapes with multiple valleys. A valley is the internal angle where two roof slopes meet. Water from both slopes channels through it. When the lead or mortar in a valley fails, the volume of water involved is large and the damage can be rapid. We see this regularly on 1930s extensions in Caversham, where original valley work has never been touched.
Blocked gutter overflow catches homeowners off guard. A gutter full of leaf debris backs up in heavy rain. Water overflows at the fascia, runs behind it, and soaks into the roof structure at the eaves. The ceiling stain appears near an outside wall and the homeowner assumes the roof is at fault. Sometimes the fix is a gutter clear, not a roof repair.
Condensation mistaken for a leak is more common than people realise. A poorly ventilated loft in winter can produce enough condensation to wet insulation and eventually show as a ceiling stain. There is no external entry point because the water is forming inside the structure.
Treating it as a leak and patching tiles will do nothing. The fix is ventilation. The way to tell the difference is that condensation staining tends to appear during cold spells rather than after rain, and it often affects a wider, more diffuse area rather than a single drip point.
How we trace a leak
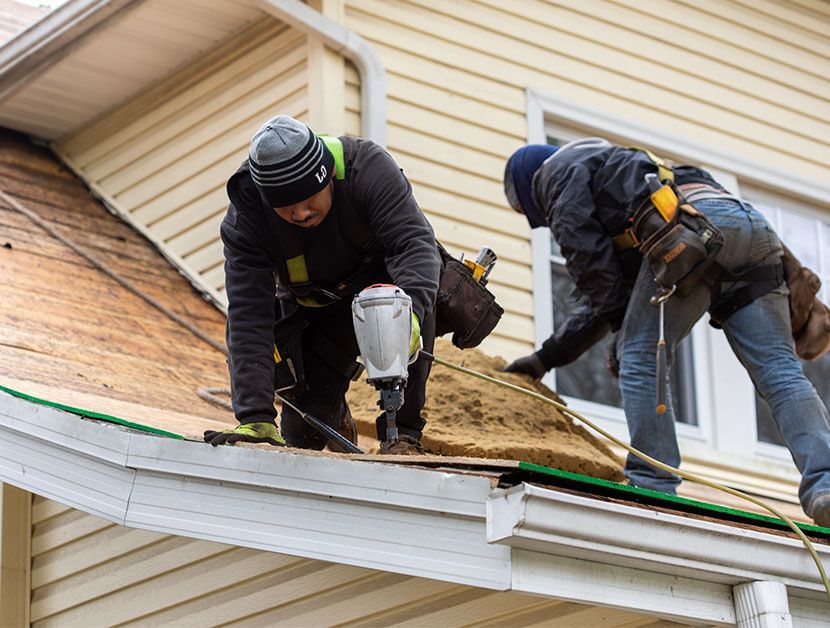
The first thing we do is a thorough visual inspection from the outside. We go up on the roof and look at every likely failure point: flashings, valleys, ridge and hip pointing, individual tiles, the condition of felt visible at the eaves. We're looking for anything that breaks the weathertight line of the roof.
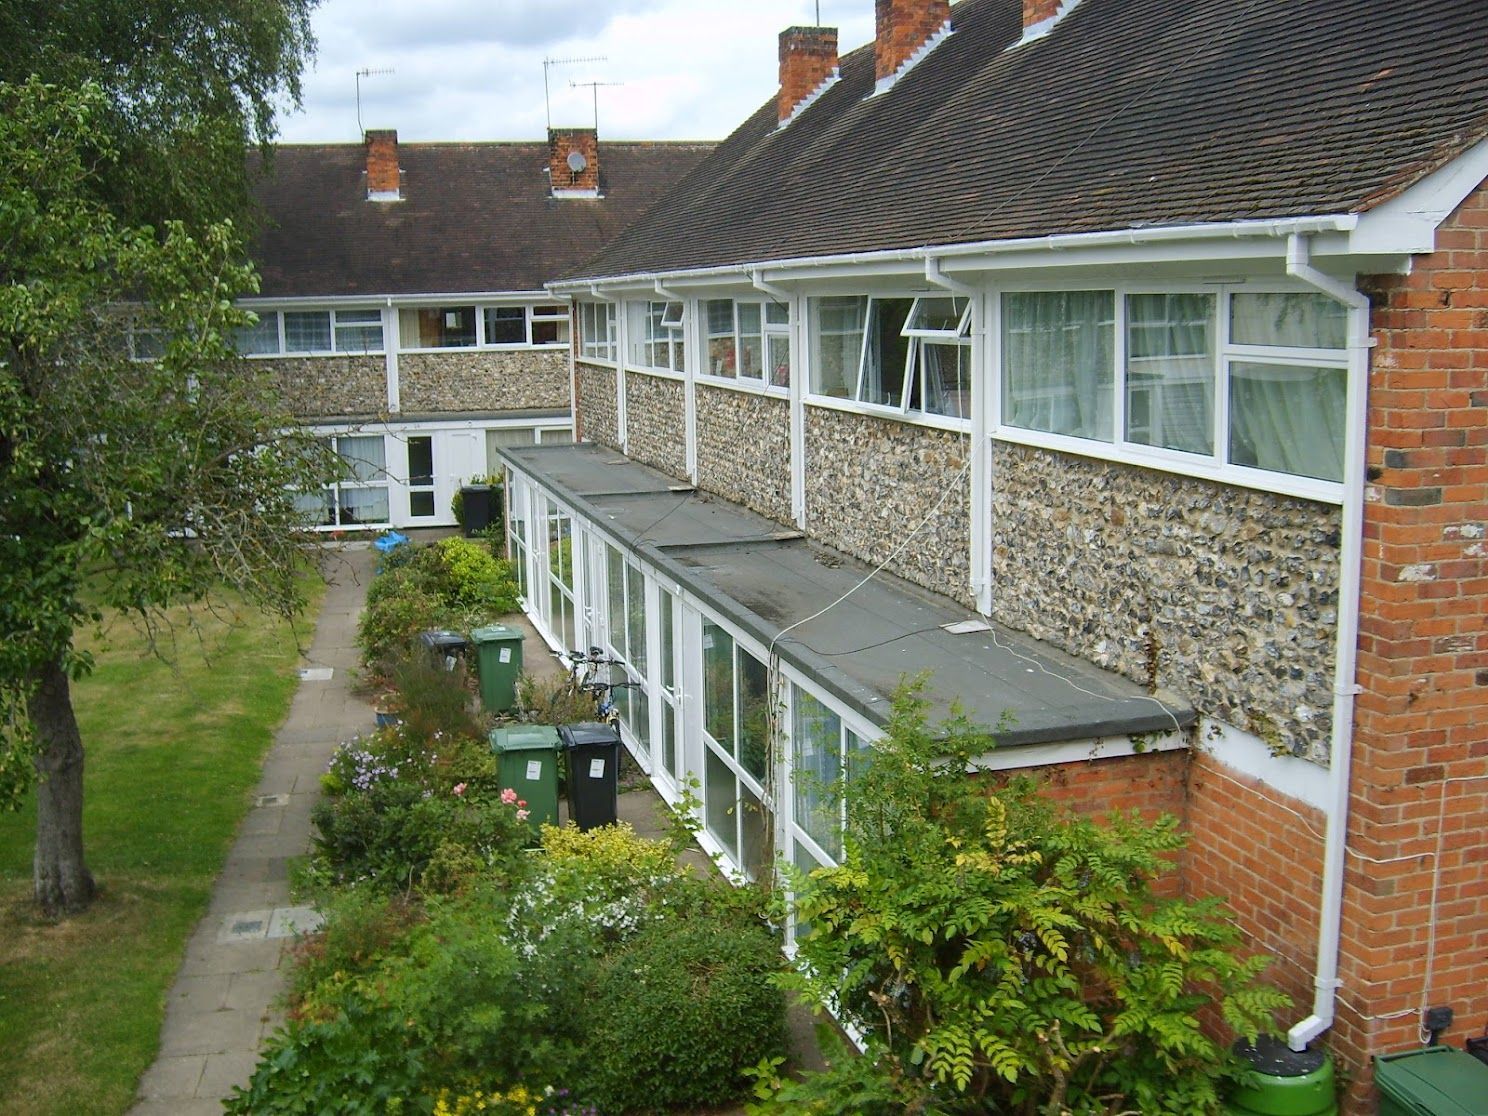
After 40 years of this work, a lot of leak tracing comes down to pattern recognition. We know which failure modes are common on which types of property. A 1930s semi in Caversham with a rear extension and a wet patch on the kitchen ceiling almost certainly has a valley problem or a failed flashing at the junction of the old roof and the new. We've seen it dozens of times.
When the visual inspection doesn't give a clear answer, we move to water testing. This means introducing water to the roof in a controlled way, starting at the lowest possible entry point and working upward, while someone watches inside for the first sign of moisture. It's methodical and it takes time, but it eliminates guesswork.
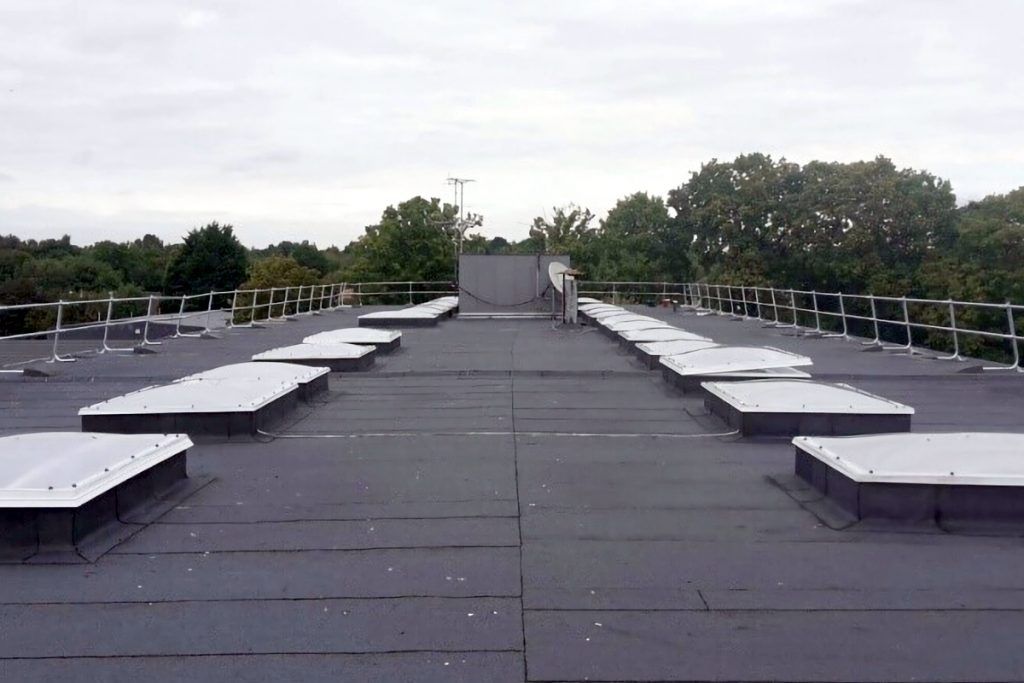
For difficult cases, particularly flat roofs or roofs where the structure is complex, we use thermal imaging. A thermal camera detects temperature differences in the roof surface. Wet insulation holds heat differently from dry insulation, so a leak path shows up as a warm or cool trace depending on conditions. It's not something every roofer carries, but it removes the need to open up a roof speculatively.
Smoke testing is used less often, mainly on flat commercial roofs where air movement through the membrane needs to be mapped. For residential work, visual inspection combined with water testing resolves the majority of cases.
Once we've identified the true source, we photograph it and document exactly what we found and where. That forms the basis of the repair specification.
Why DIY leak tracing usually gets it wrong
The instinct is to go into the loft with a torch during rain and look for where the water is coming in. Sometimes you get lucky. More often, you find a drip point inside the structure that is not the entry point, patch the felt or tiles nearest to it, and the leak continues.
The other common mistake is replacing the tile or section of roof directly above the ceiling stain. Given everything above about how water travels, this is rarely the right place to work.
There's also a risk with DIY investigation on a wet roof. Roof surfaces are slippery. Tiles can crack under foot pressure if you don't know where to tread. A well-meaning investigation can create a second leak while failing to fix the first.
The cost of a misdiagnosed repair isn't just the money spent on the wrong fix. It's the continued water ingress while the real source goes unaddressed, and the damage that accumulates in the meantime, to insulation, to plasterboard, sometimes to structural timbers if the leak is long-running.
Getting the diagnosis right first time is the only thing that makes sense.
Book a survey or call us now
If you have an active leak, we offer an emergency response service. For a leak that has stopped but left a stain you want properly diagnosed, a free roof inspection gives you a full photographic report identifying the true source and what needs to be done. No guesswork, no unnecessary work.
Our
roof leak repair service covers the full process, from tracing the source to completing the repair and confirming it's watertight. Get in touch to arrange a visit.